Products for mountaineers
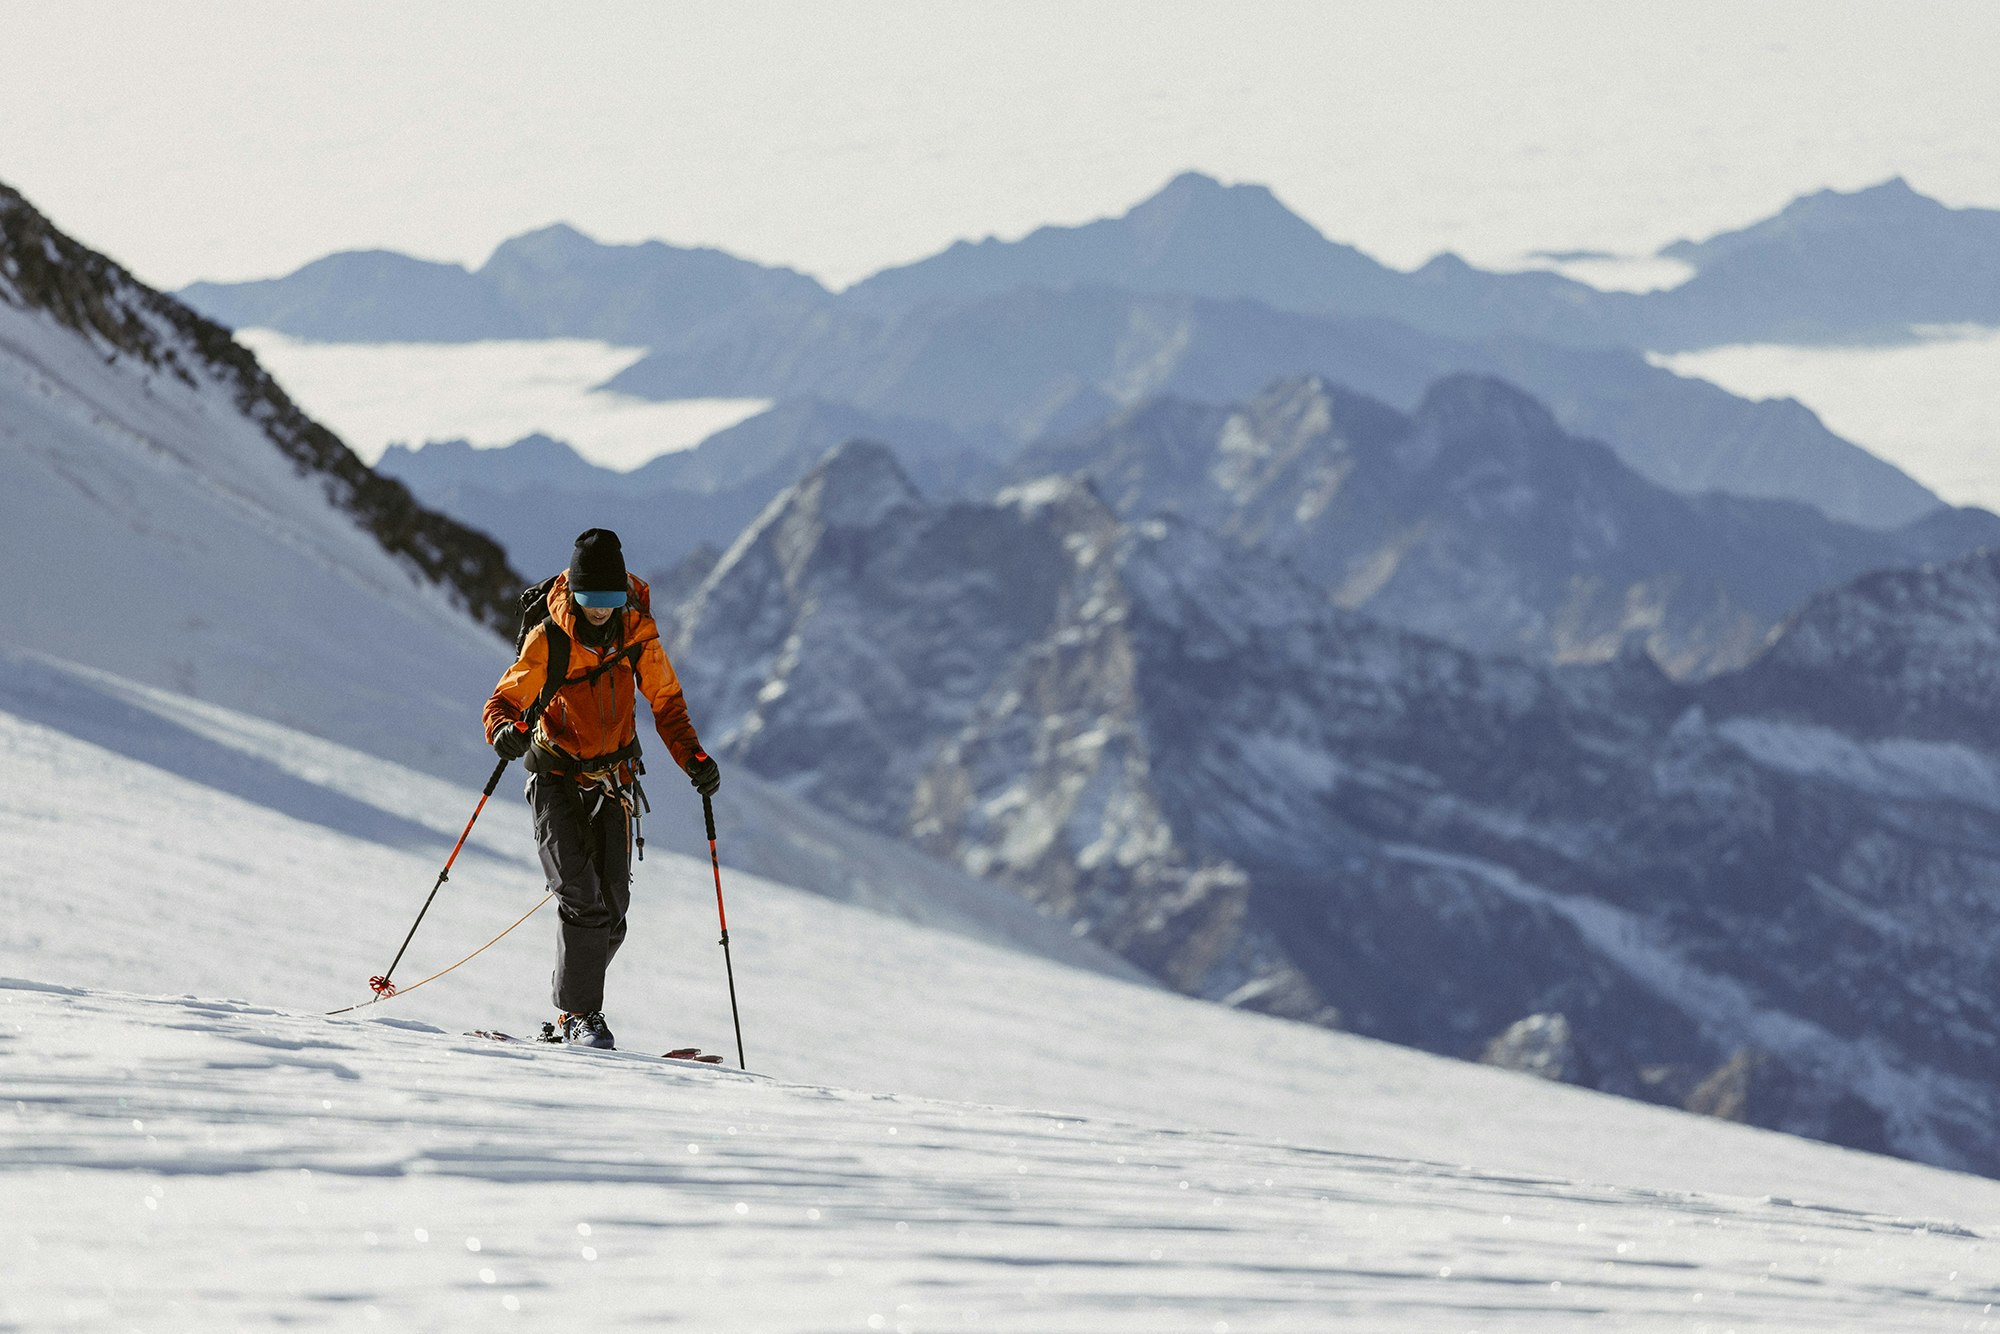
The word ski mountaineering encompasses skiing and alpinism. The calling to head high, to reach summits, ridges and the most spectacular vantage points, and then don your skis, often inevitably requires you to use mountaineering equipment. In order to make the right choice, you need to understand how it works and know how to use it.
- Author: Enrico Mosetti
- Photographer: Nicola DamonteGiovanni DanieliMichele Guarneri

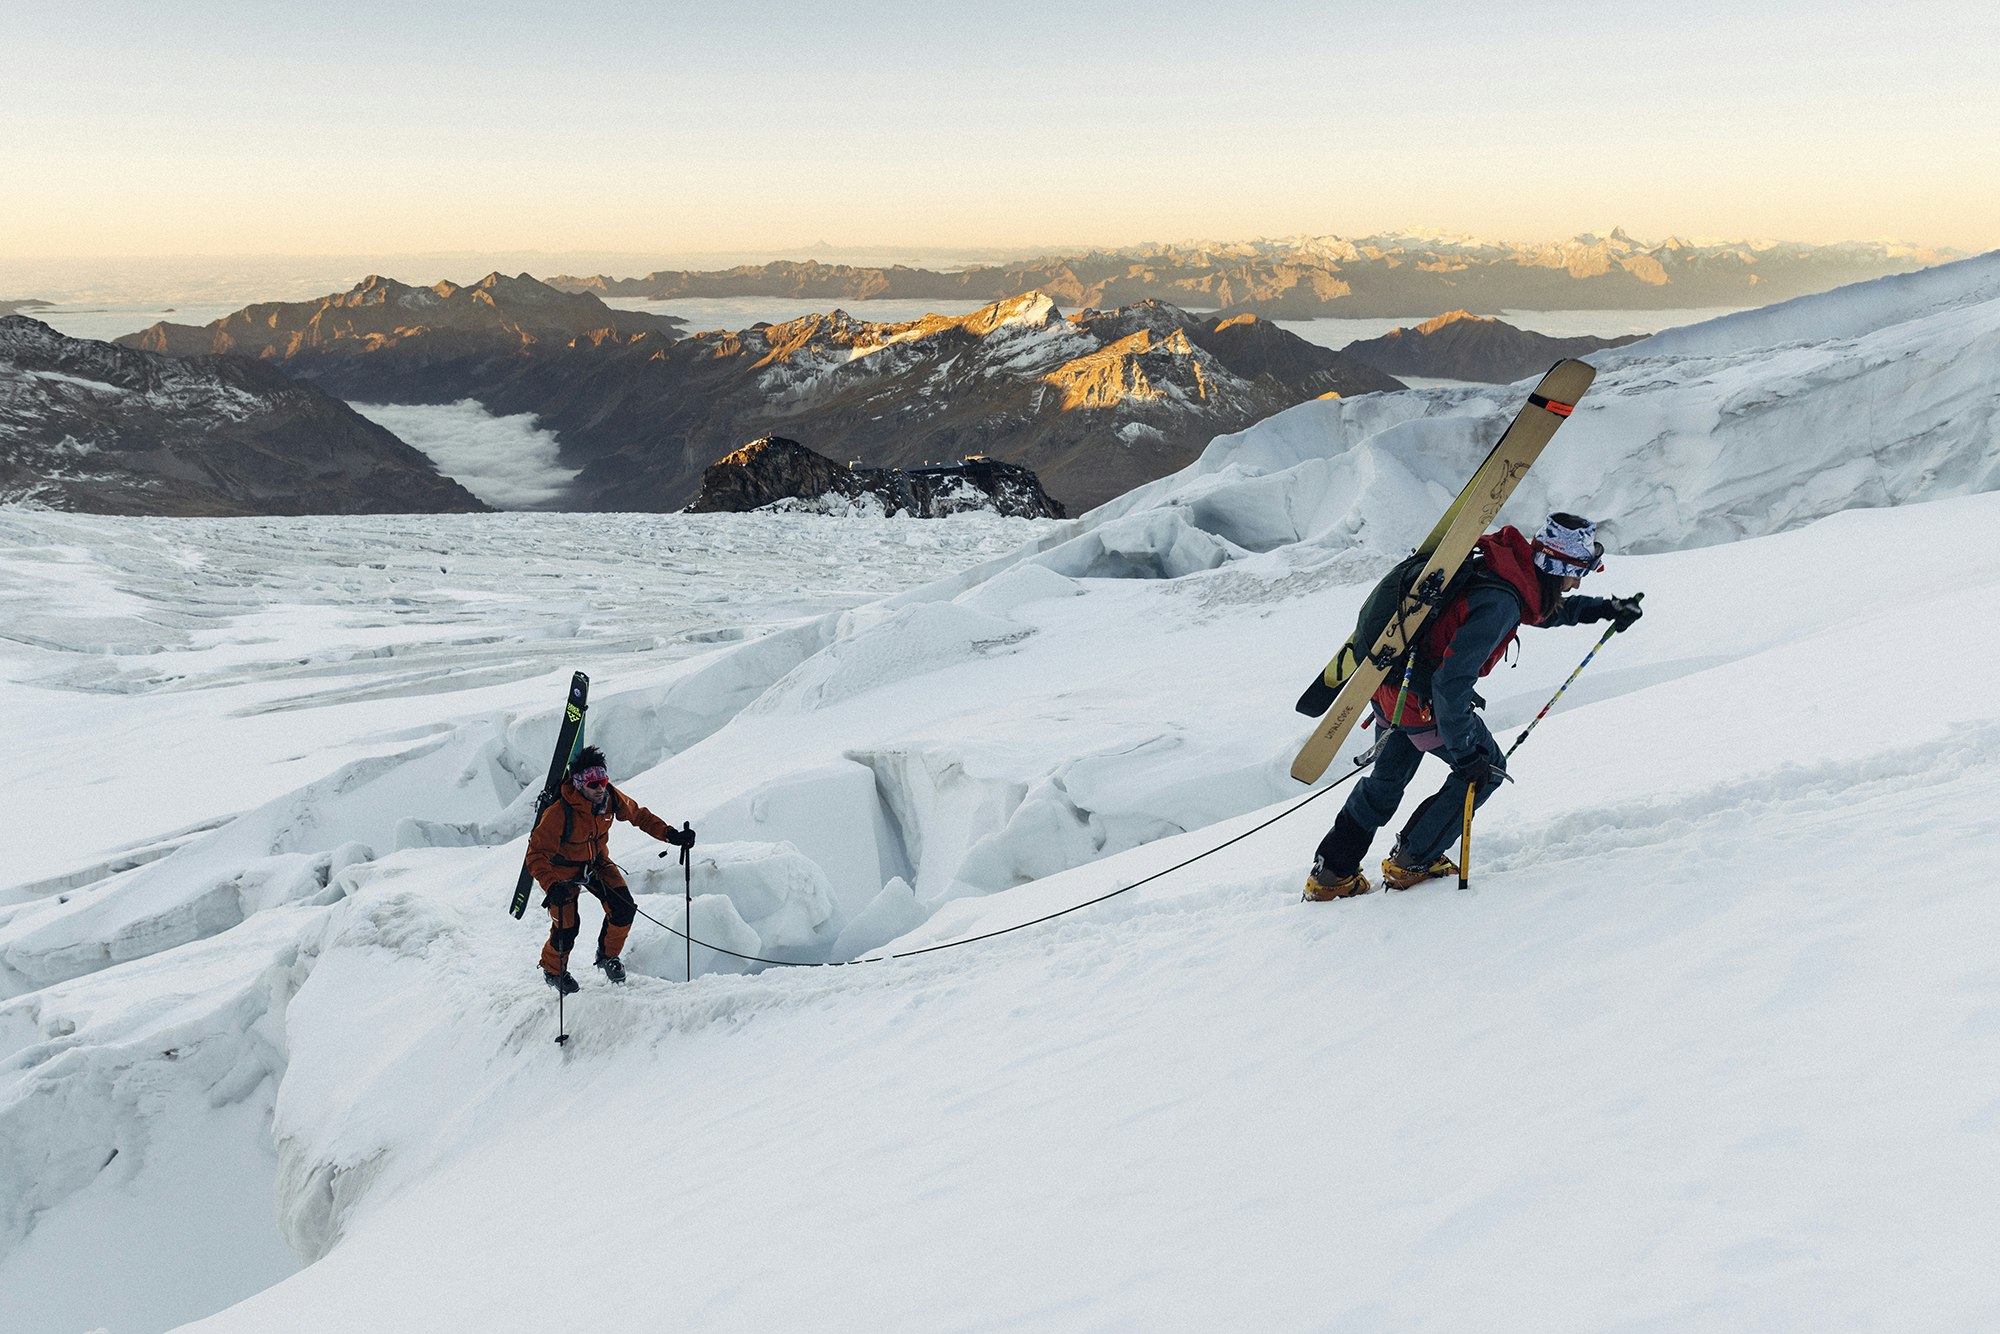
So you’ve got your skis, boots and bindings, and found a good transceiver, probe and shovel set for your backpack. You’re not done yet. Ski mountaineering in the true sense of the term also requires crampons, ice axe and harness, as well as ice screws if you’re going to be traversing glacier terrain.
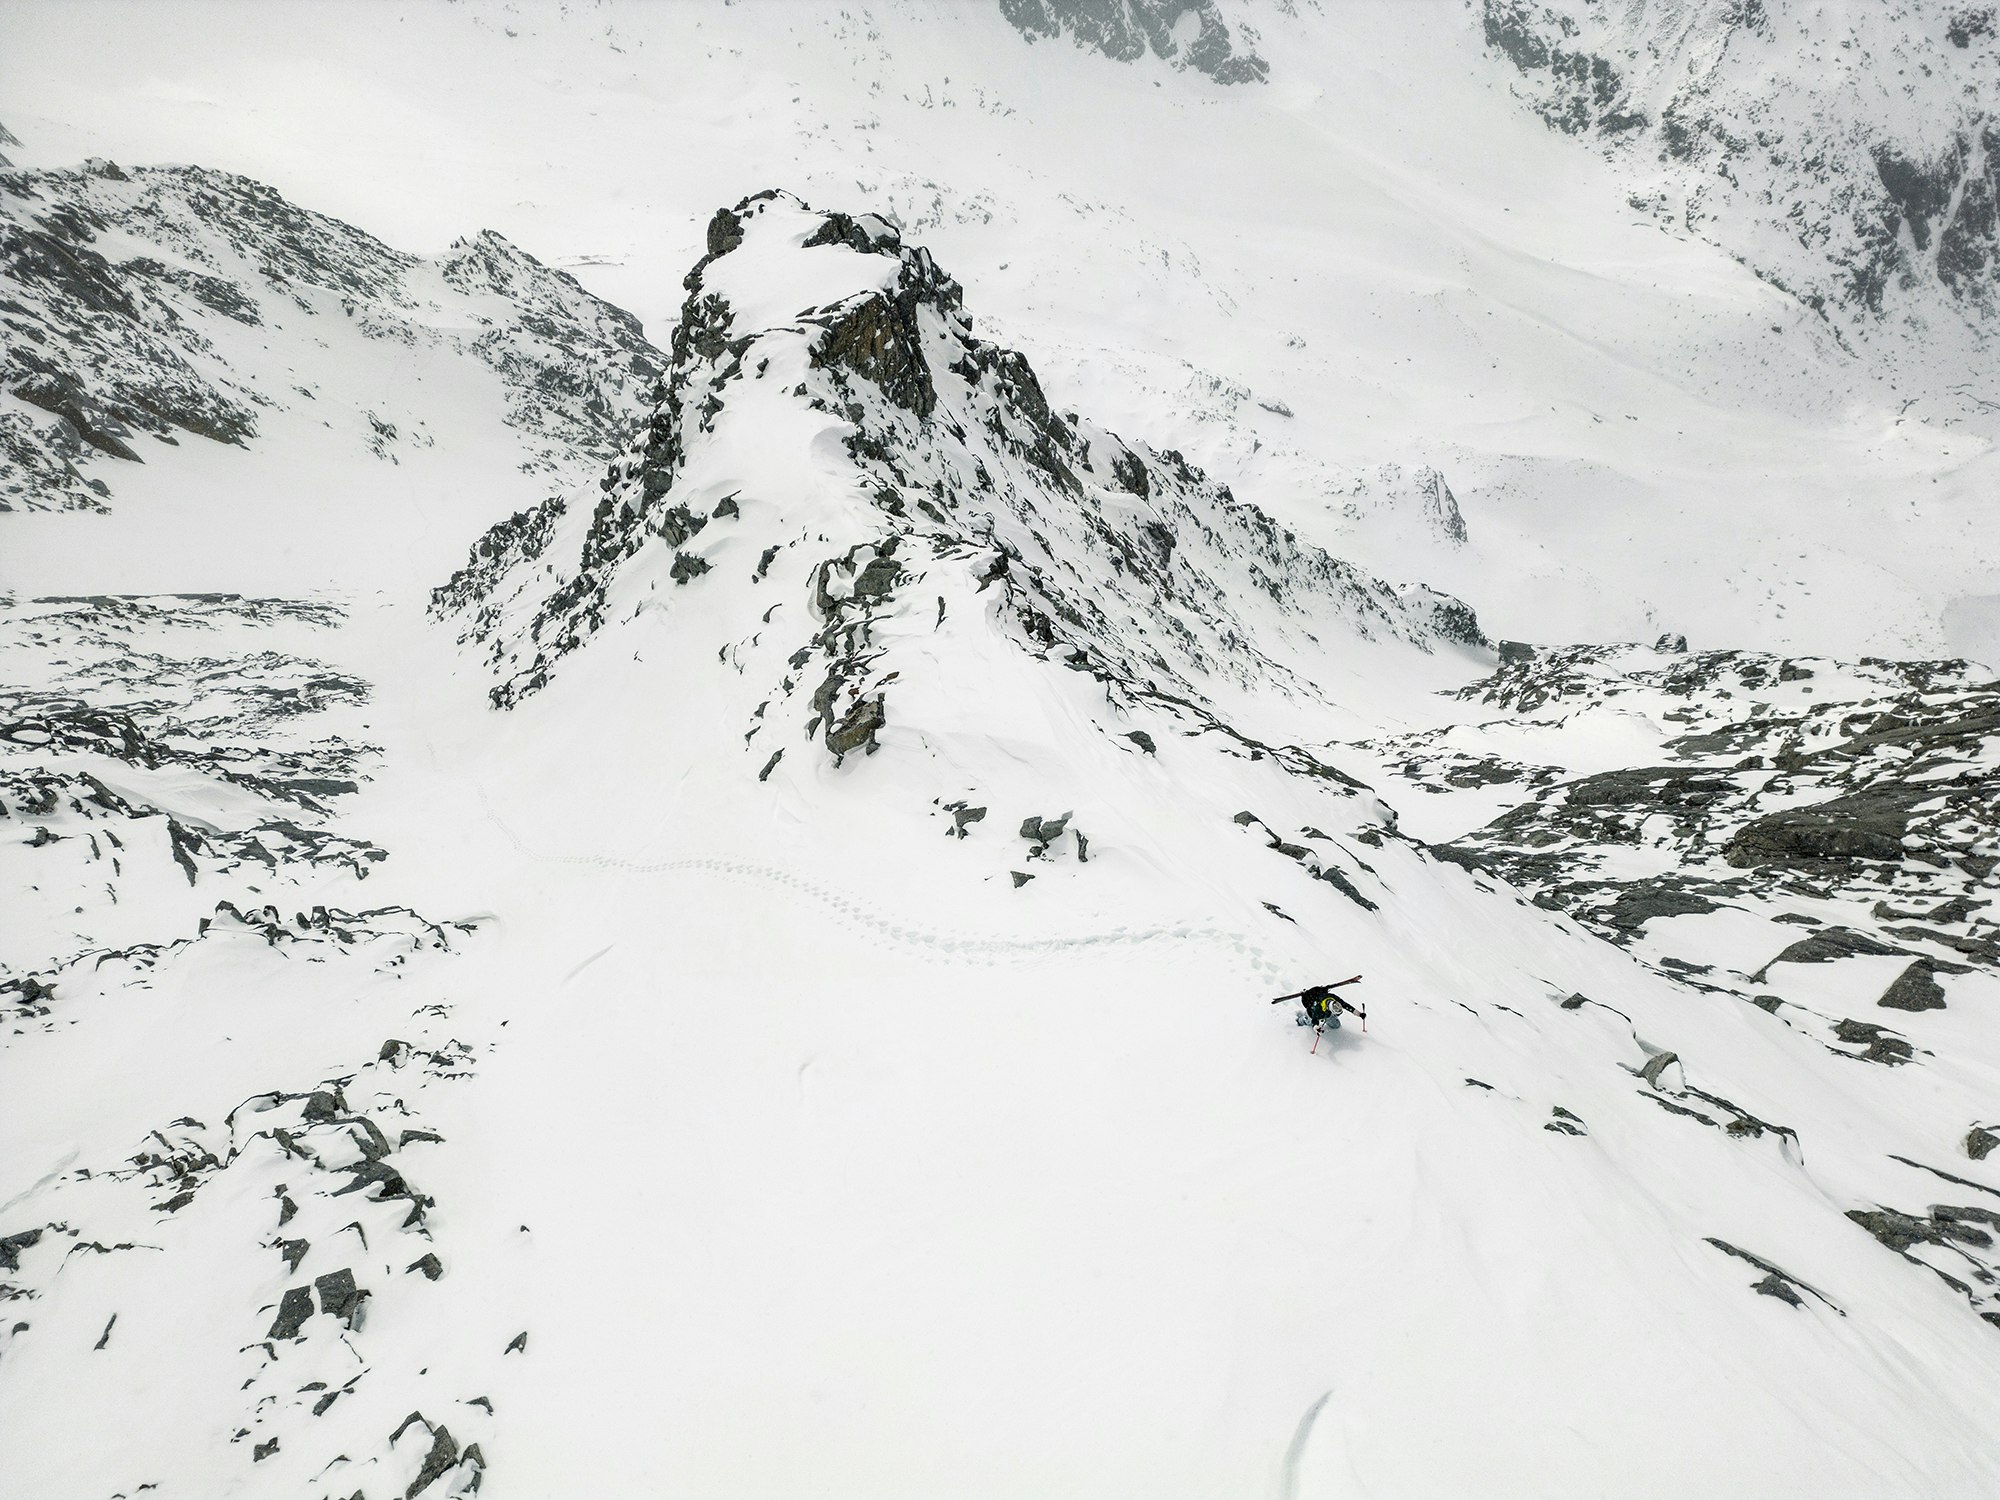
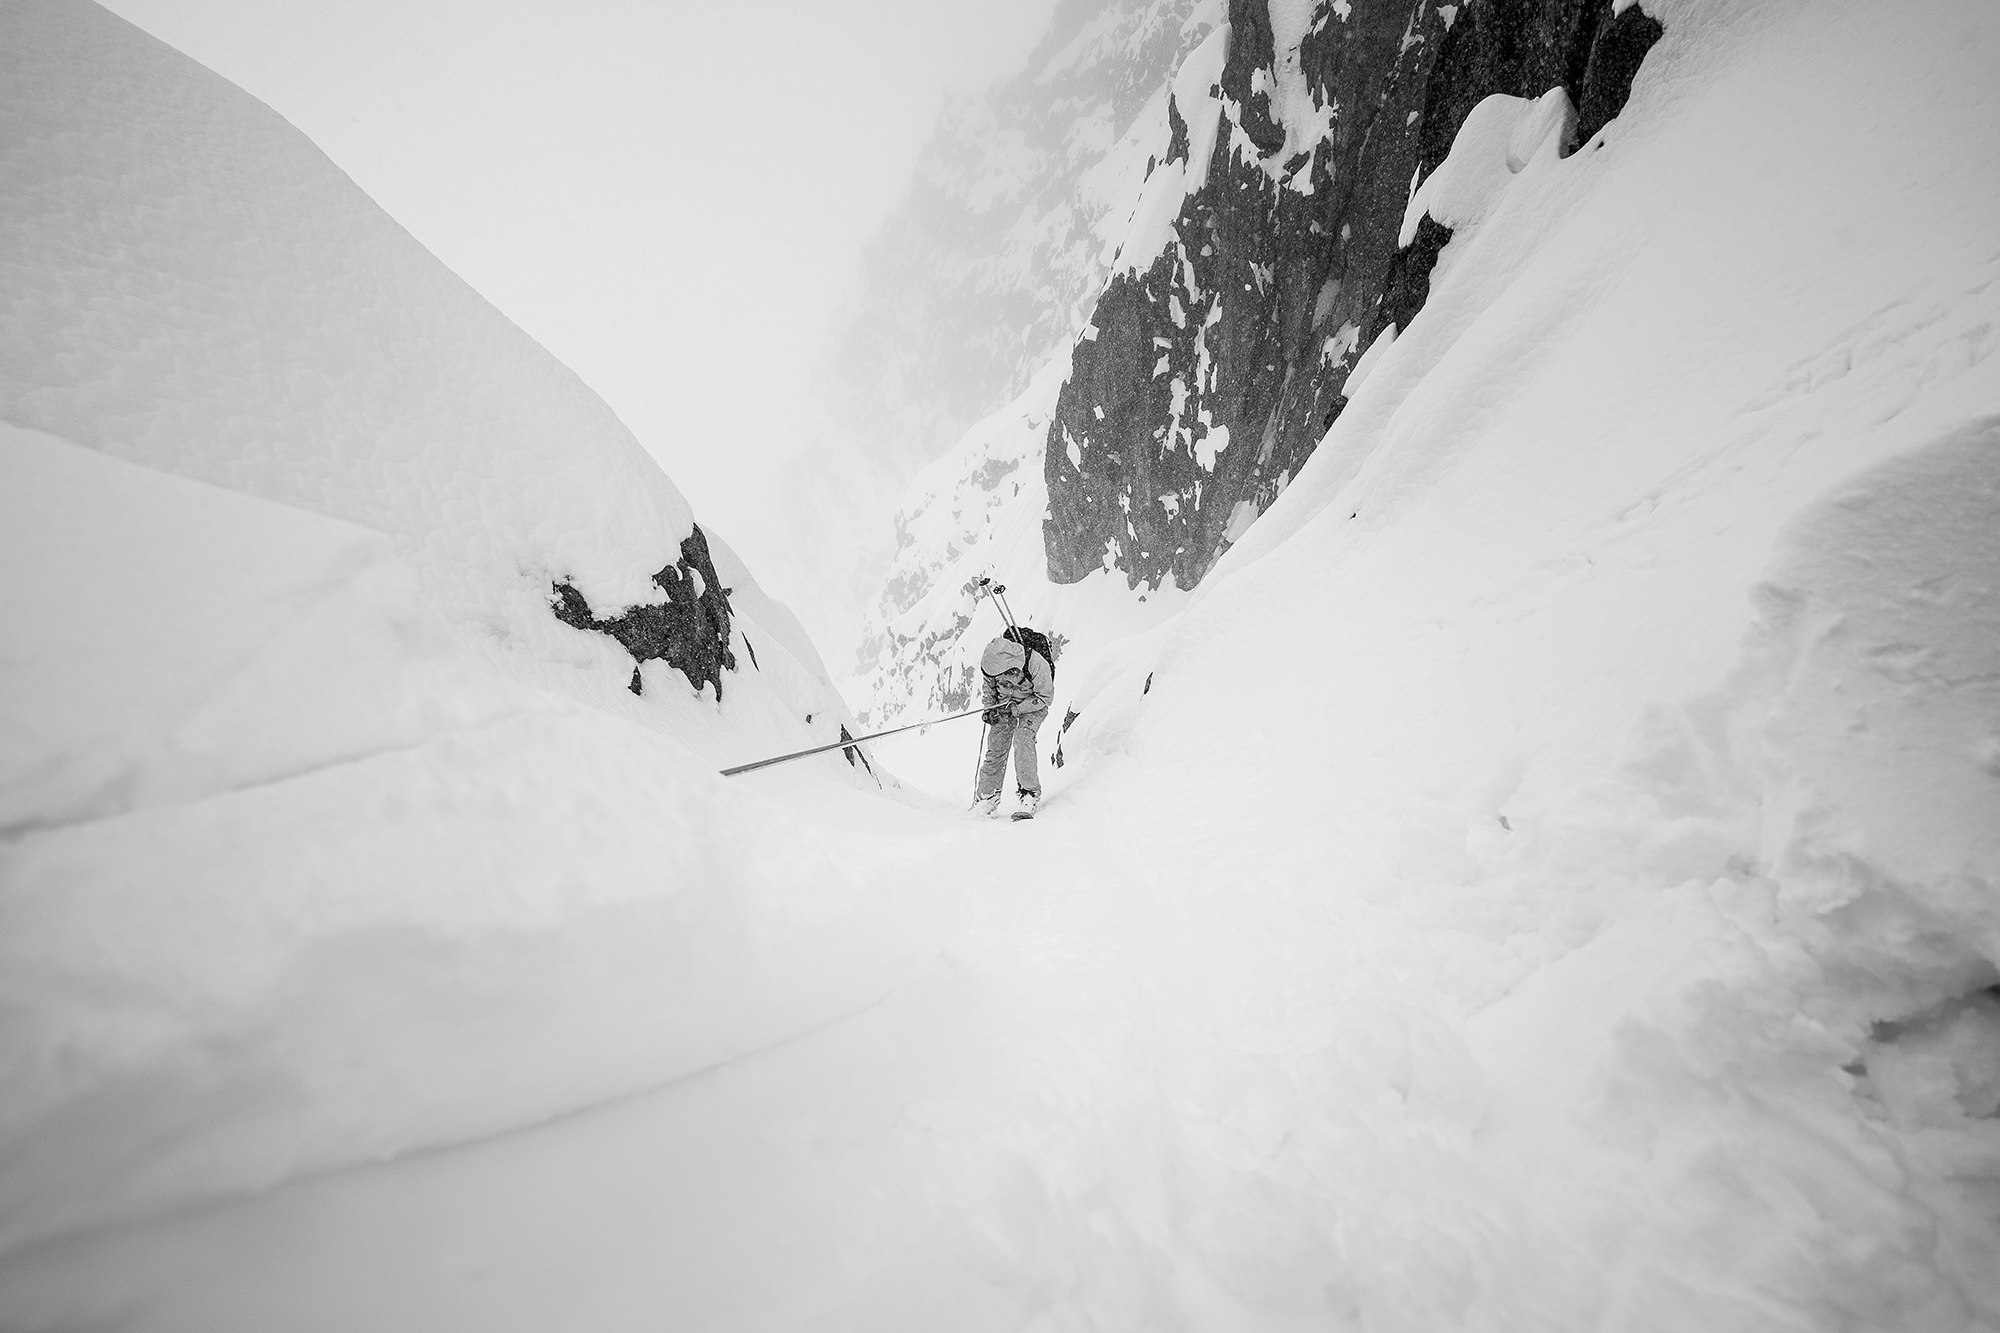
All it takes is a non-technical, snowcapped crest under 2,000 m (6,561 feet). It’s a matter of a few hundred meters, but temperature fluctuations have changed the snow and below there’s a short rocky section. You need to bootpack it and you’d be better off with some crampons at your feet, even if the snow isn’t that hard. Or there’s a steep couloir to climb and you need to strap your skis to your pack—an ice axe would come in handy here, even if you’re not going to be driving it. Luckily, there’s more and more choice, but it’s not always easy to decide which product is most suited to your needs.
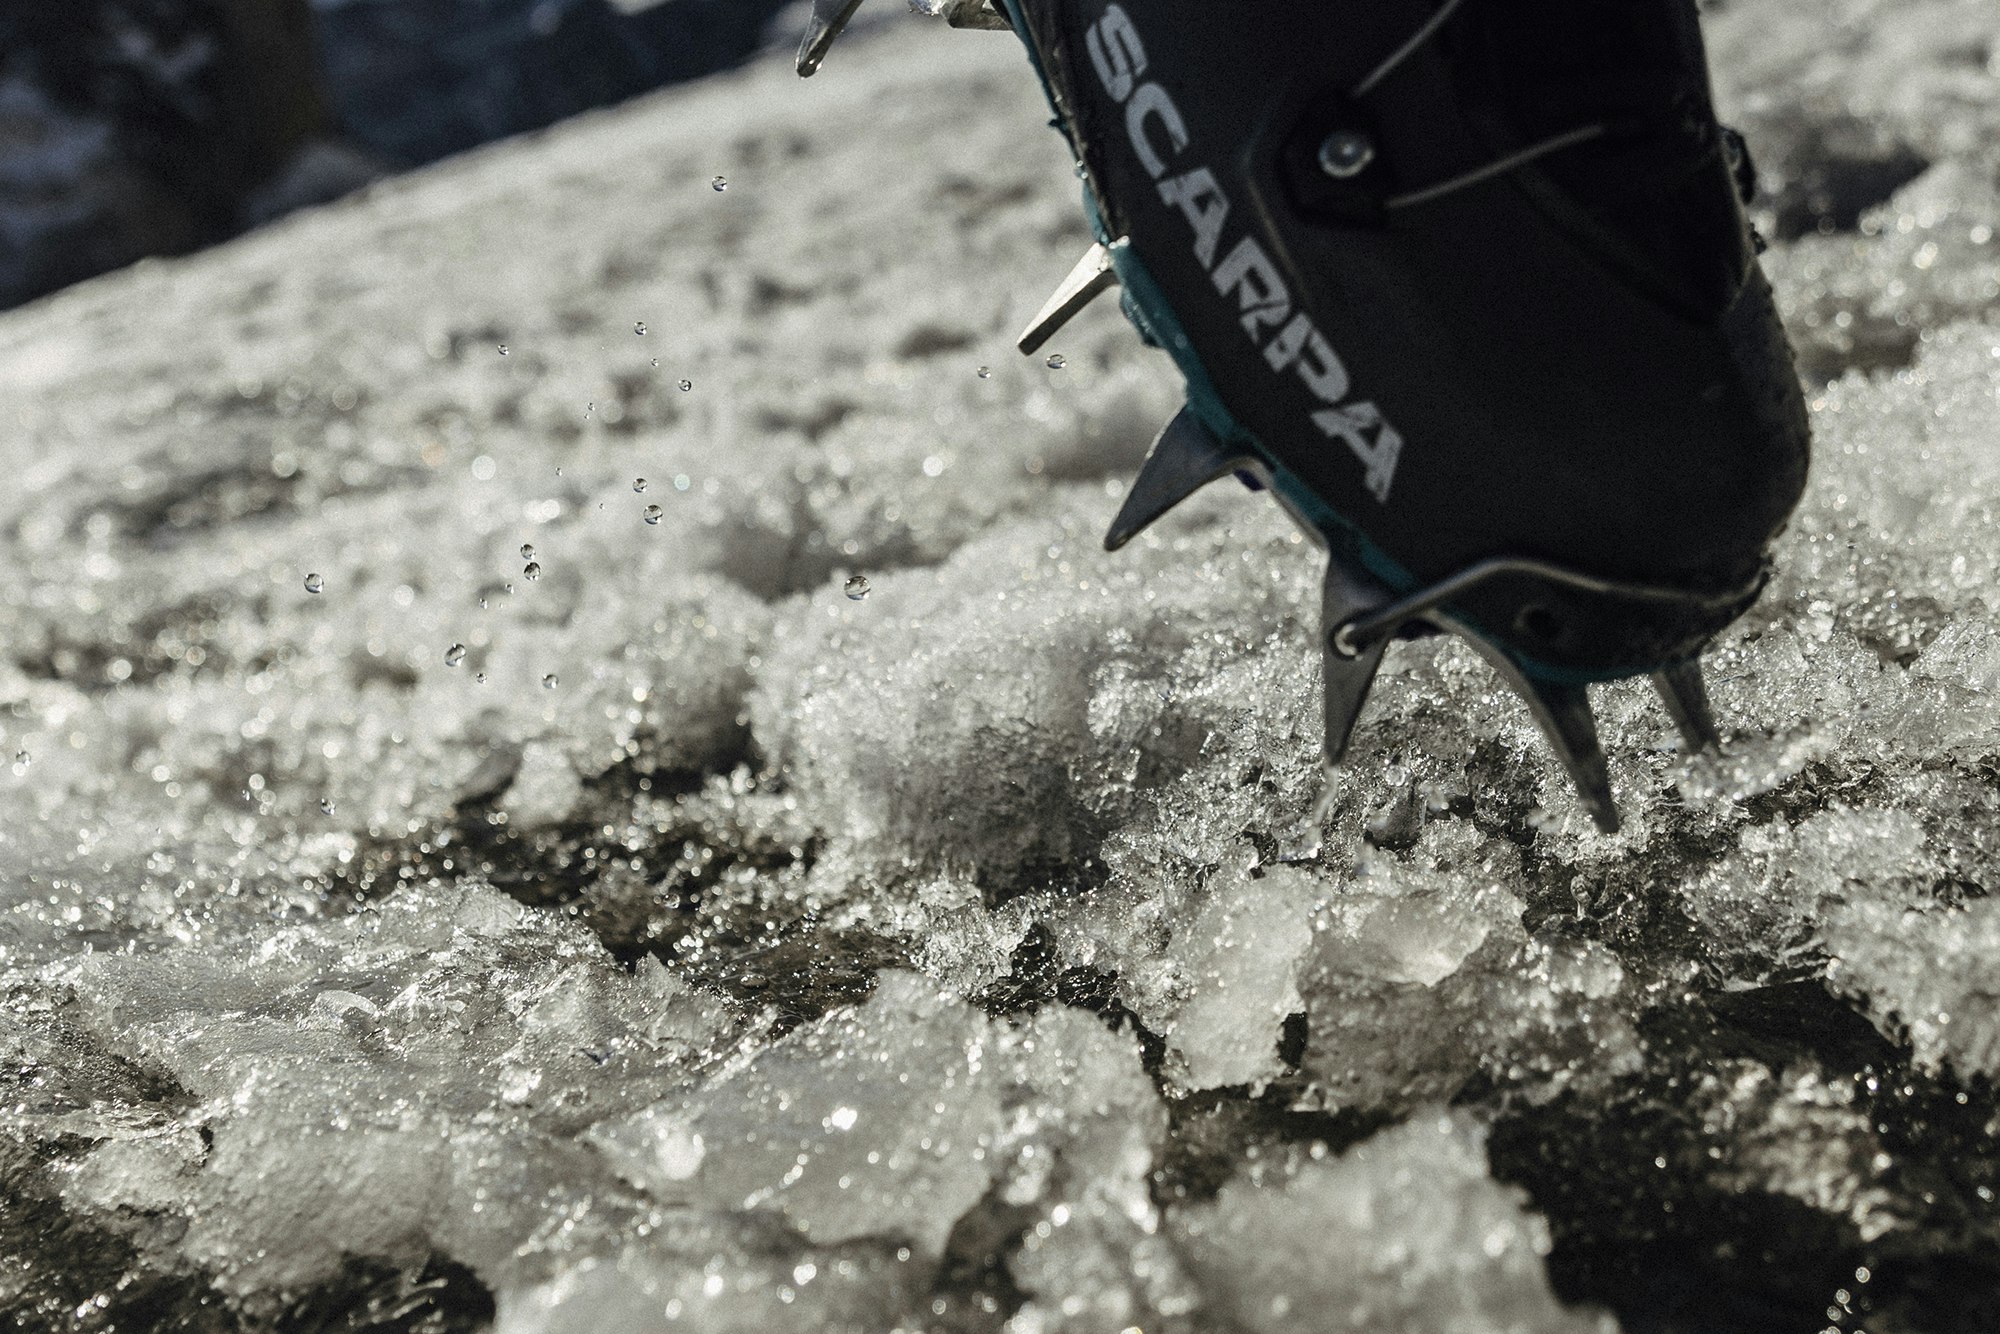
Crampons: steel for challenging situations
Ten or twelve points, steel or aluminum, bar adjustment or next-generation ‘soft’ systems (twin cord, tape). These are the variables to consider.
Apart from some rare exceptions ski mountaineering-specific crampons feature ten points, while classic models have twelve points. The lightest models are made from aluminum, while the most robust are in steel; hybrid models use steel at the front and aluminum at the back. When it comes to hard ice or mixed routes, steel is the obvious choice as aluminum ricochets and dulls quickly on rock. It’s a different story if you’re on a snowy, not particularly technical route, or a short downhill section in similar conditions. Another thing to consider is that aluminum linking bars are subject to torsion, more so than steel, and this can also have an effect out on the crest or when traversing, making them more unstable. This can also be seen in minimalist models like the Petzl Leopard, which uses cords to attach the front to the back. The shape and position of the points is also important as they can make the difference when stopping, especially at the back.
The construction materials haven’t changed in years, if there has been, or will be, any changes to crampons then it will be in their overall design or individual components. The latest development has been linking the front and back sections with two cords, used by Petzl, a Dyneema strap (optional) by CAMP, or textile strap used by Blue Ice. Valid solutions to reduce weight that are acceptable for non-technical usage and anyone who has adopted the fast & light philosophy; ideal for leaving in your backpack on the off chance you might need them. Obviously, technology and other developments can’t work miracles and crampons with a capital C are those with a linking bar and fully, or at least partly, made from steel. It means carrying a little extra weight but is ever more reliable and suitable for all kinds of use. Of course, in this sub-category too there’s a difference between aluminum and hybrid. The limitations of models with lightweight cords or straps linking the front and back rails become evident when climbing, as they feel out of synch with the rest, and sometimes on traverses where they feel less stable, even if the rigid structure of the ski boot offsets this a little. Other aspects to consider include adjustability and how easy they are to adapt to different-sized feet.
Where linking bars are concerned, those with two rows of holes that include half sizes are best. If at either end of the crampon there are two (or sometimes three) holes for fastening then this means you can tailor them precisely to your boots, even if a lower position of the central holes can make them a little trickier to use. Anti-balling plates: yes or no? The plastic plates that prevent snow build up are essential, unless you are taking a race-style ultralight approach. In short, it makes sense to know yourself and what you want to do in the backcountry. Most skiers will take on less challenging routes with little exposure, on rare occasions including rocky sections and/or glacier travel. Further up the scale, the technical difficulty increases (steeper couloirs, rappelling to get past rocky outcrops or short sections of hard snow, mixed routes, the occasional 4,000 m / 13,000 feet outing on skis).
The compatibility conundrum
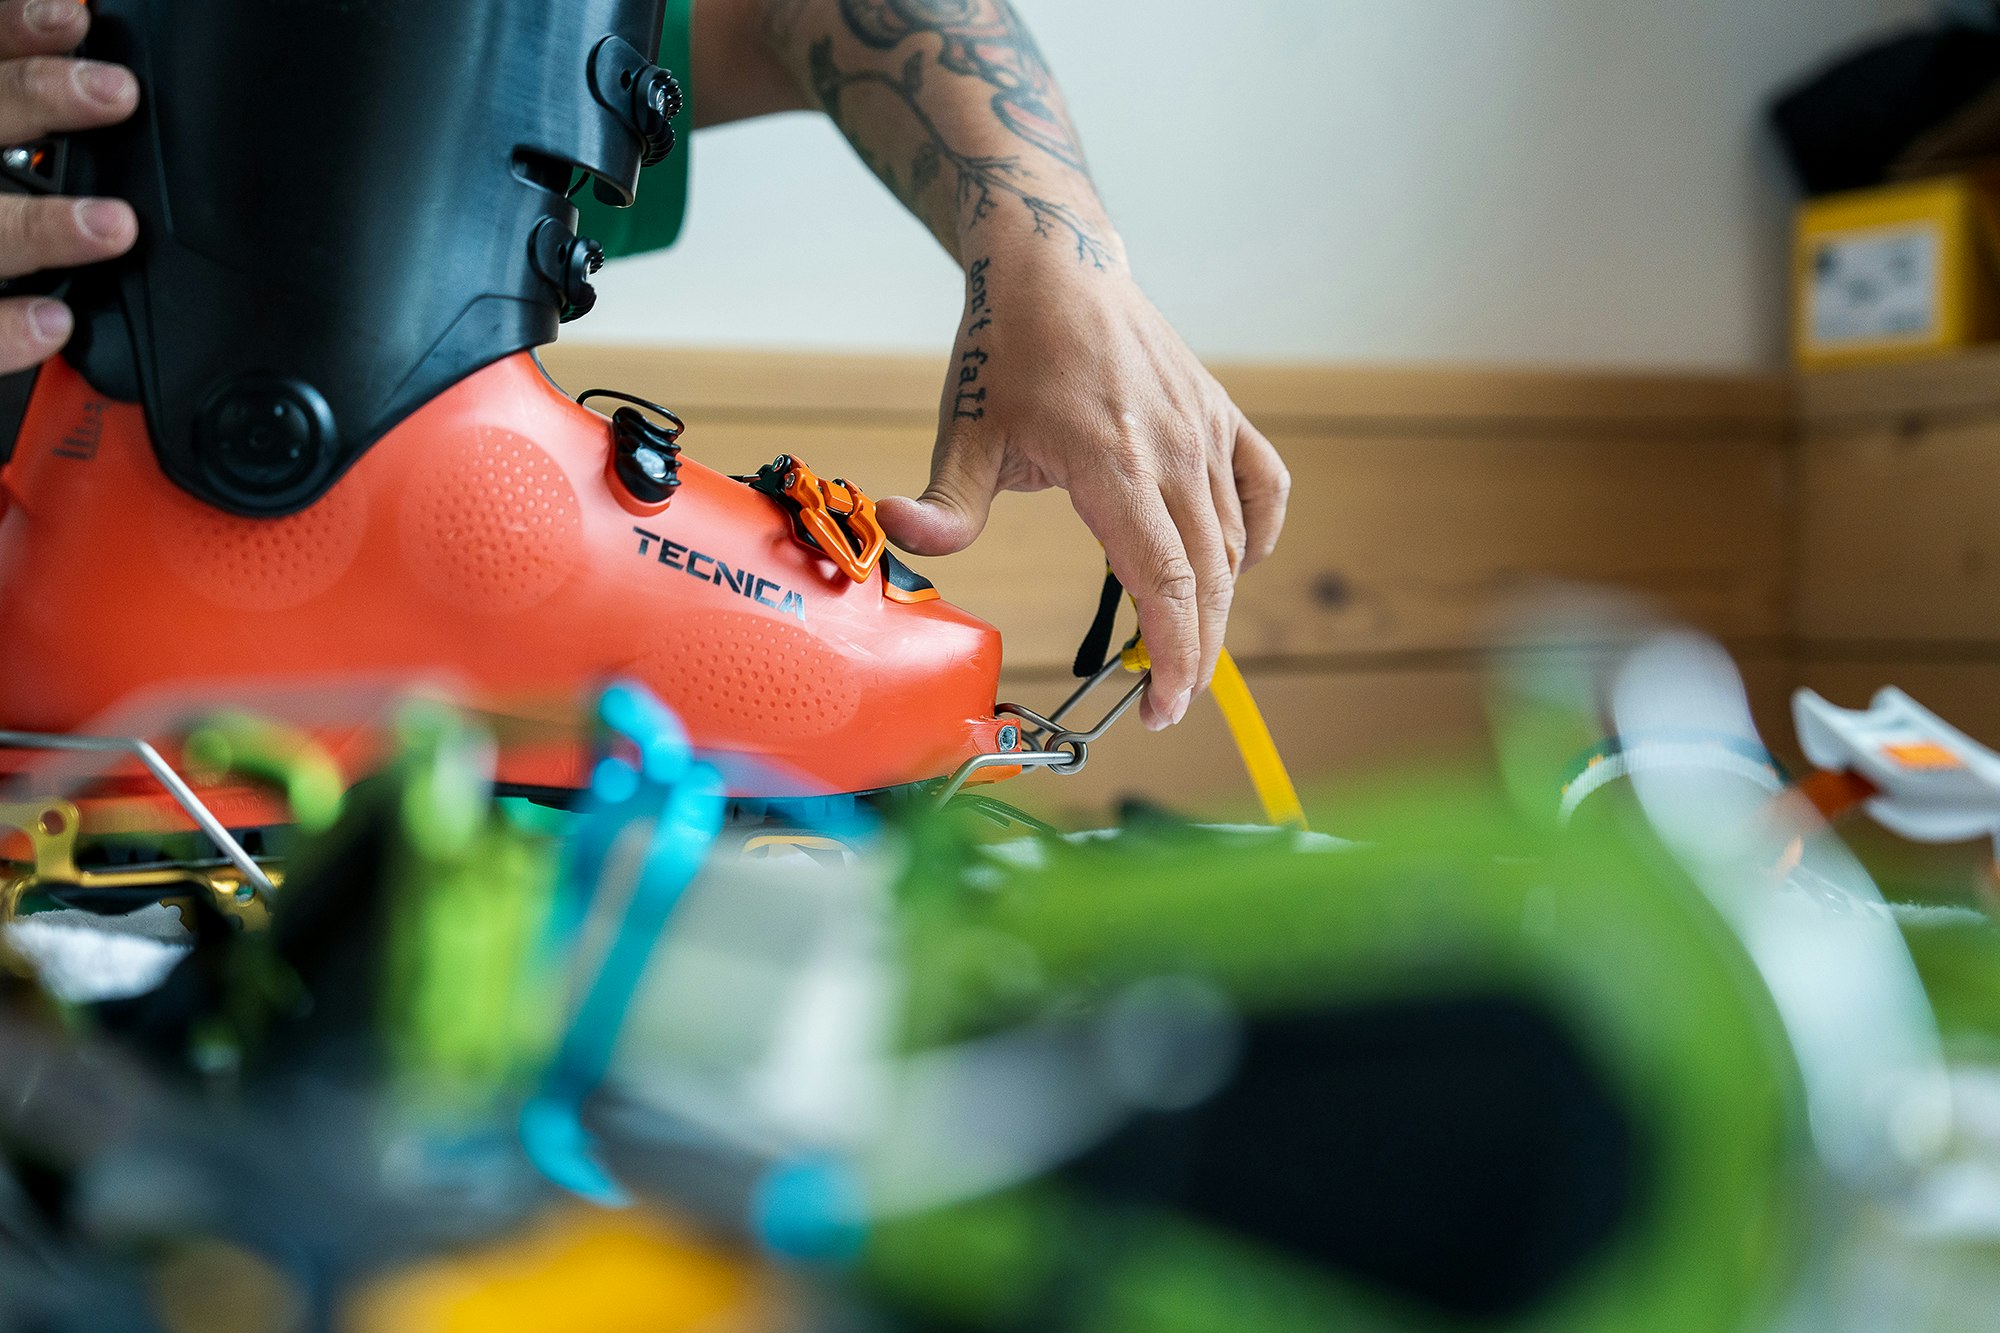
Crampons for ski mountaineering are designed to be universal, but thanks to the different shapes of ski boots, they can’t work perfectly on all models, and in some cases are incompatible.
It’s one thing to fit, quite another to have the sole of your boot properly covered, with the front and rear rails of the crampon matching the respective areas of the boot, with little play in the front toe bail on rockered boots keeping the snow out and holding the heel firmly. The main problems involve too much room at the back (very occasionally too little room) for some light boots, with lots of lateral and vertical slop, or too much vertical play up front. Consider that if there are problems to begin with, they will only increase once the rubber sole of the boot starts to wear down. Then there are low-sitting ski/walk levers that can get in the way of some models (in some more technically difficult situations it can be useful to lock your boot to your ski together with the crampon), pronounced rear overhangs at the heel and crampon levers that aren’t always easy to lock. You also need to take into account the distance between the toe of the boot and the front points, something worth bearing in mind on mixed routes, where rocks can reduce the amount of foothold available. Under each tested boot description, you can find information on crampon compatibility. Our test team tried every boot with the ten most popular crampons for ski mountaineering.

Ice axe: not too long
There’s no need for a super high-end ice axe. A wealth of choice exists beyond these models. So, let’s start with the how, rather than the what.
Your axe stays safely stowed in your pack when skiing, and to hand on the uphill, where necessary. Up to around a decade ago it was hard to find one under 52 cm (20 in.). In any case, stick between 45 (no shorter) and 55 – 60 cm in length. If the going gets steep, is it better to have it to hand on your shoulder strap, just in case you need to self-arrest? It’s still going to be hard to get hold of it quickly enough in a situation like that, it’s more for if you find a sheet of hidden ice. Adze or hammer? Adze, if you have a second then that should have a hammer to attach screws if necessary (and if you know how to do it). An adze, the bigger, the better, can be useful when clearing snow to transition. Using a leash tied to the head is contentious, less so a leash tied to the handle; even if you’re not going to lose it if you drop it, there are many who would get rid of any ties to the body altogether.
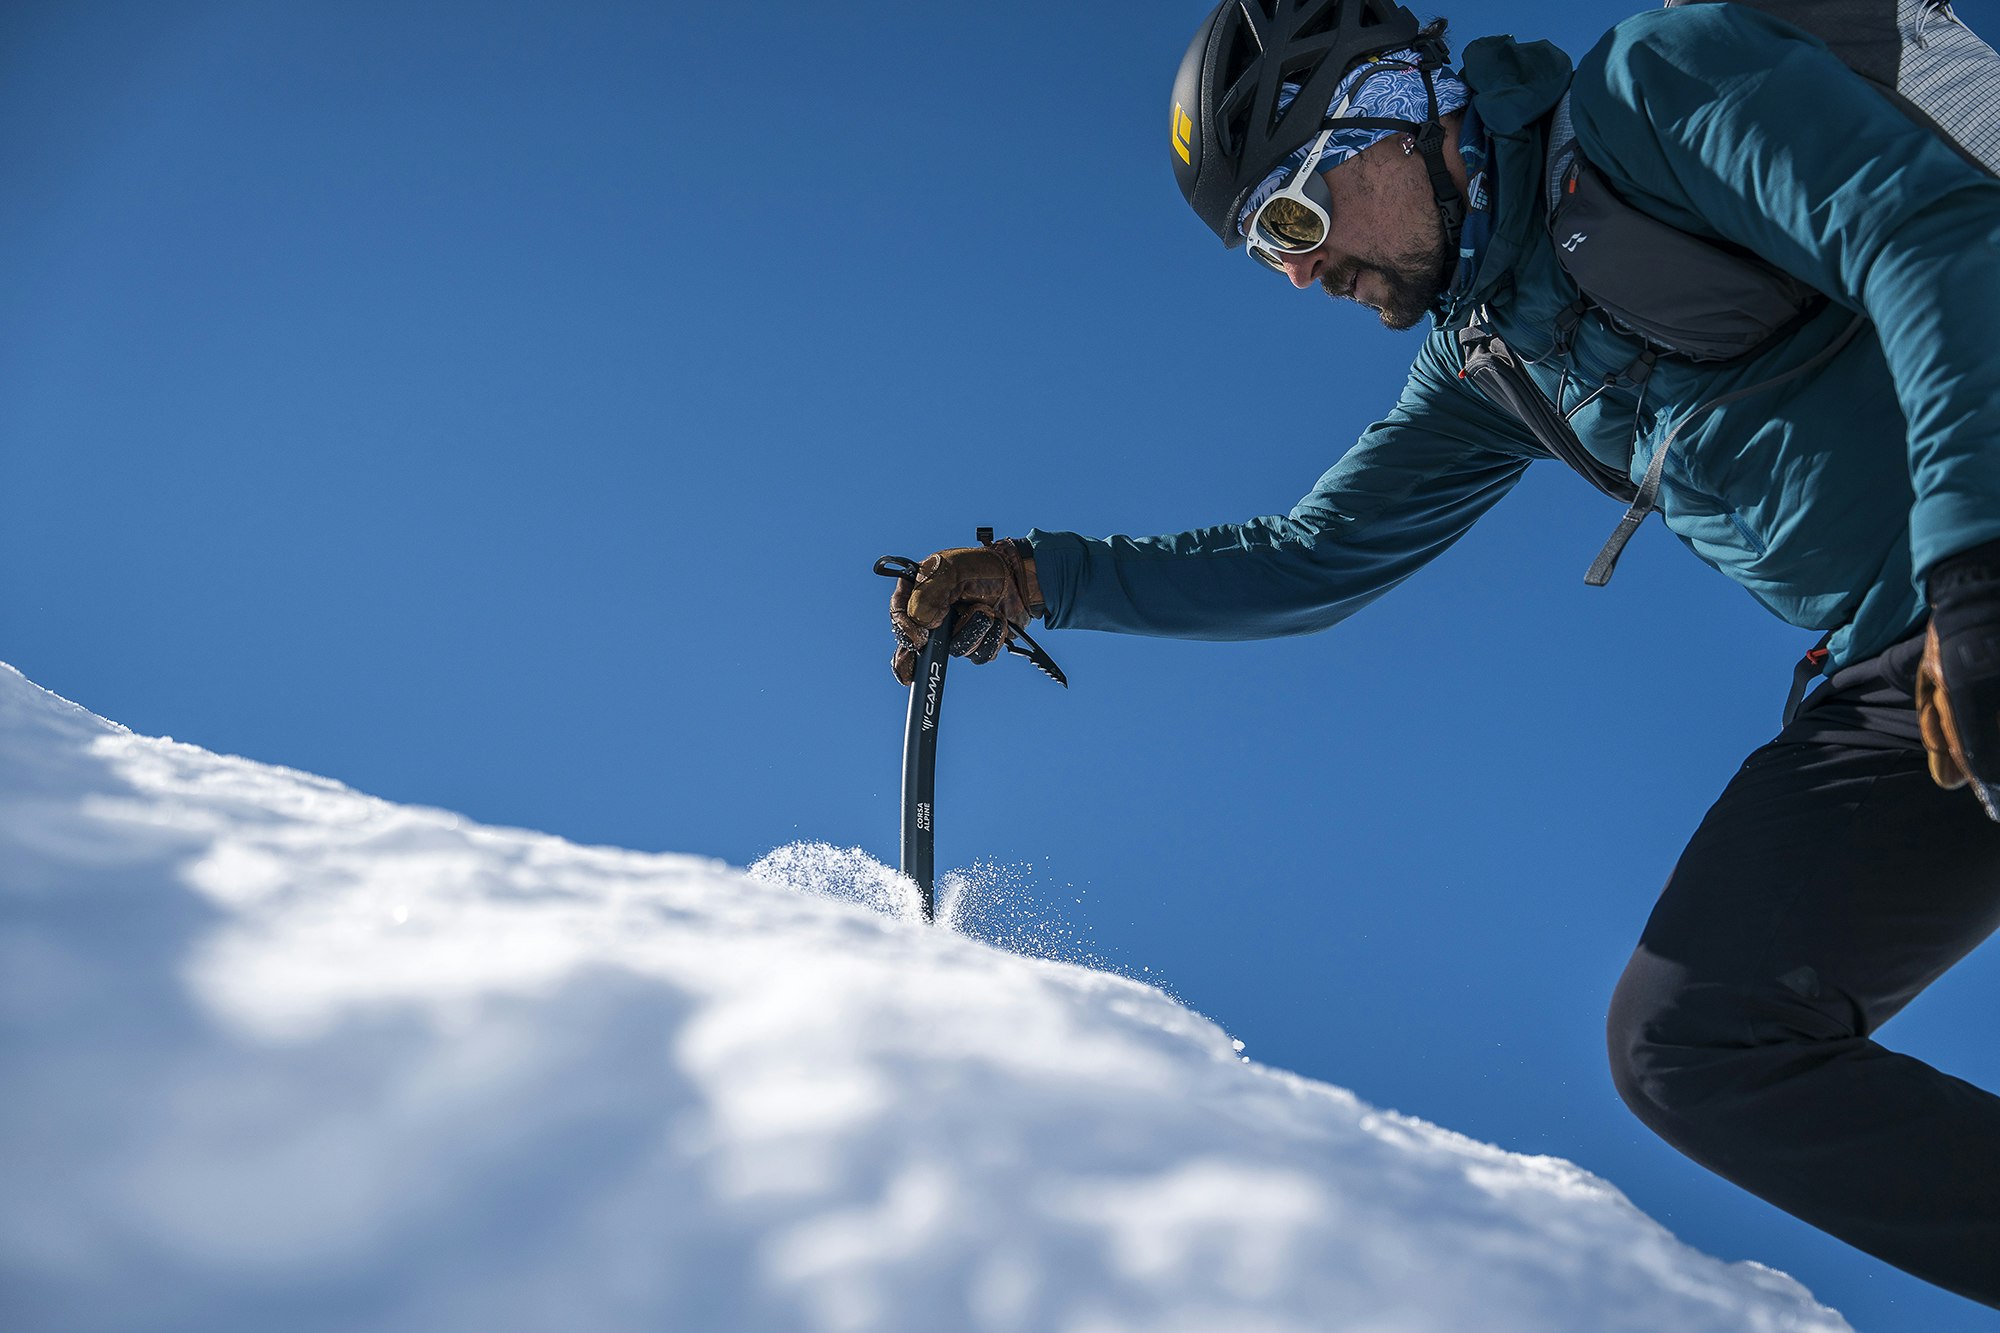
What do you need an ice axe for? Generally, aside from clearing rest/transition places, it’s used as a climbing aid on steep sections or in couloirs. That’s why you need to see how easy it is to grip the head. You may also need it for a crevasse rescue or for chopping on more challenging routes, where a curved handle makes more sense. For those taking their first steps in ski mountaineering, a light axe is all you need, even one of the more basic models that you can put in your pack and forget about, it can always come in useful. For rescues and other uses a tour or more advanced light model is recommended.
Harnesses
Lightweight harnesses are the most innovative and are almost imperceptible when worn (as well as taking up very little space in your backpack when folded up in their bag). More traditional models are heavier, but you shouldn’t compromise on gear loops or screw holders.
Whichever type you decide to go for, the most important thing is the size. Remember to try it on at the store while wearing your ski gear, which is heavier and bulkier than jeans and a t-shirt. Because when the time comes to wear it on the mountain you don’t want to realize that the leg loops won’t fit over those brand-new, super-cool pants you just bought. Comfort and fit should come first, though comfort when walking compared to when rappelling means something very different. Opinions (including ours) are very subjective, and a lot depends on your build.
Share this article


Probably The most accurate ski test out there.